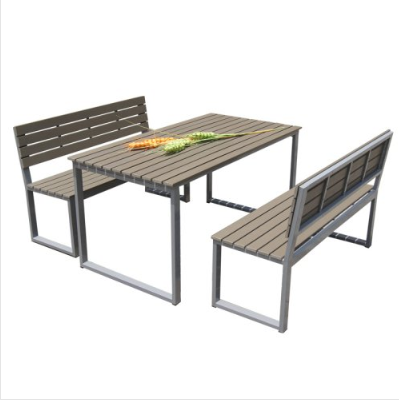
When it comes to outdoor furniture, wooden pieces have a special appeal. They provide a natural and elegant look to your yard or patio. However, wood is vulnerable to weather changes and may fade, crack, or wear out over time. That's where restaining comes in handy. Restaining wood outdoor furniture is an easy and affordable way to revive its look and protect it from the elements. In this article, we'll guide you through the steps of restaining your wooden outdoor furniture.
The first step is to prepare your furniture for restaining. Remove any cushions, fabric, or other attachments. Then, use a stiff brush or sandpaper to remove any loose paint, dirt, or debris from the surface. This will ensure that the new stain adheres well to the wood. If your furniture has any cracks, splinters, or deep scratches, use a wood filler to repair them. Once you're done, wipe the furniture with a clean cloth to remove any dust or debris.
The next step is to choose a stain that suits your furniture and personal preferences. There are many types of stains available, from transparent to opaque, from oil-based to water-based, and from natural to colored. Consider factors such as the wood type, color, texture, and age of your furniture. You can also test a few stains on a small area to see how they look and how they interact with the wood. Don't forget to wear gloves, eye protection, and a mask when handling stains, as they can be toxic and irritating.
Now it's time to apply the stain to your furniture. Start by stirring the stain well and pouring it into a paint tray or bucket. Then, use a brush, roller, or sprayer to apply the stain evenly to the wood, working with the grain. Don't over-apply or leave puddles of stain, as this can cause peeling and uneven results. Let the first coat dry for at least 4-8 hours, depending on the type of stain and weather conditions. If you want a deeper color or more protection, you can apply a second coat using the same method.
After applying the stain and letting it dry, you can do some finishing touches to your furniture. For example, you can add a protective sealant or varnish to enhance the durability and shine of the stain. You can also add some accessories, such as cushions, pillows, or umbrellas, to make your furniture more comfortable and inviting. Finally, you can enjoy your newly restained wooden outdoor furniture and impress your guests with its revived look.
Restaining wood outdoor furniture is a simple and rewarding DIY project that can improve the appearance and longevity of your furniture. By following these steps, you can prepare, choose, apply, and finish your stain with confidence. Just remember to wear protective gear, test a sample, and let the stain dry properly. With a little effort and creativity, you can transform your old wooden furniture into a beautiful and functional piece of art.

Copyright © 2022 Sendy Furniture Co.,Ltd. All Rights Reserved.Site MapDesigned by